Free Gift w/ $49 Purchase!

All About 1-Step Lexy Line Gel | HEMA Free Hard Builder Gel
Meet Light Elegance's 1-Step: the all-in-one hard builder gel solution for effortless, long lasting nails. It gets the name 1-Step because it acts as a base and top coat all-in-one (does NOT cure to high shine). Self-leveling to create a perfectly smooth surface each and every time. 
Key Features & Benefits
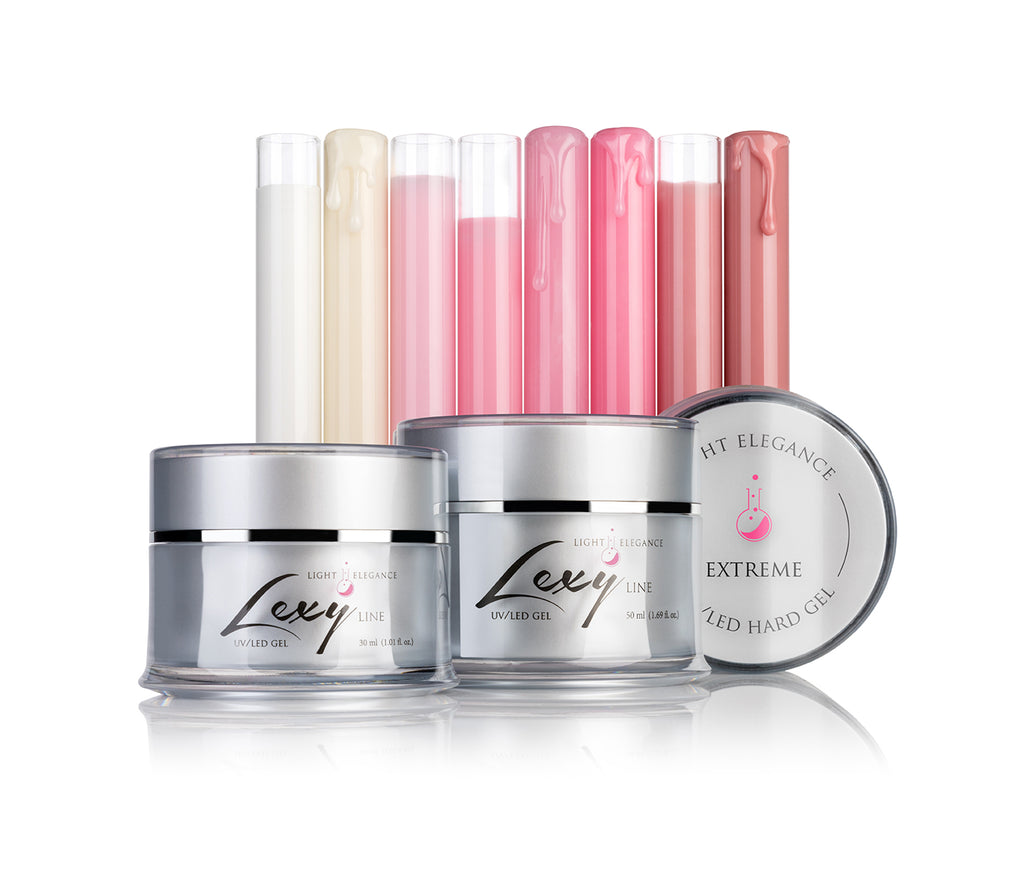
Versatile Shades: Available in Clear, Natural Pink, Pink, Ideal Pink and Cover Pink for a customized and flawless look. Shop 1-Step by color here.
Time-Saving Wonder: The self-leveling Ideal for quick natural nail overlays, streamlining your application process.
Crack-Resistant Formula: Formulated with high-quality resins for durable hard gel wear
Effortless Brilliance: Achieve a high-shine finish effortlessly, simplifying your nail care routine.
Convenient Sizes: Choose from 30 ml, 50 ml, or the economical 120 ml Backbar Refill Tube.
Who is 1-Step best for?
1-Step is perfect for nail pros who prefer to work quickly with a fast self-leveling gel. It is the perfect gel for quick, natural nail overlays with hard gel durability.
When it comes to clients and ideal nail types, 1-Step is best for your clients with stronger natural nails. Because it is a harder gel (less flexible than say - Extreme), it can be too hard for clients with super bendy or flexible nails.
Shop 1-Step Lexy Line here!
Applying 1-Step Lexy Line Builder Gel:
-
Nail Preparation:
- Cleanse the nail surface using LEpro Cleanser and a lint-free LEpro Cleansing Wipe.
- With a gentle touch, use the LE Cuticle Pusher to loosen the Keratinized Proximal Nail Fold (KPNF), also known as the surrounding skin, around the nail plate, including the proximal nail fold and lateral folds (sidewalls). Then, gently remove all the cuticles attached to each nail plate.
-Remove any shine from the natural nail or existing enhancements using the 100-grit side of the LE Perfect File with a light touch.
- Eliminate dust using a LE Duster Brush and cleanse the nail again with LEpro Cleanser and LEpro Cleansing Wipe.
Take a look at our recommended prep for Lexy Line gels here!
2. Adhesion (optional):
- Apply your desired bonding agent (VitaPrime, Tack, POWERBOND, or Airbond) as directed. This step is optional when applying over a roughed-up existing enhancement but is necessary if applying over any part of the natural nail.
3. Application
- Apply using the Slip Layer + Dollop technique
4. Curing Process:
- Cure the gel for 1 minute in the LEDdot or MiniDot curing lamp
5. Residue Removal:
- After curing, eliminate any sticky residue using LEpro Cleanser and LEpro Cleansing Wipes before finish filing if needed
6. Finishing Touch:
- Complete the process by applying LEpro Cuticle Oil to maintain the health and appearance of the cuticles.
Following these steps will assist in properly applying Clear 1-Step Lexy Line, ensuring a professional and flawless finish.
Tips / Tricks
Make an LE nail art sandwich by laying down one thin coat of 1-Step, curing, adding nail art, and capping the entire nail in another layer of 1-Step. This erases any imperfections or contours in the nail art.


